Want to try your hand at bread baking but don’t know where to start? Did your bread come out flat? Yeast not proofing? Let me guide you through the bread baking basics.
(This post contains affiliate links.)
There is a misconception floating out there, in the greater ether, that bread baking is hard.
I’m here to bust this myth.
I am here, right now, to show you with my Beginners Bread Baking Guide how approachable bread baking is. No, not bread baking every once in a while, but weekly. It can become as engrained into your life and schedule as cooking dinner, doing the laundry, or walking the dog.
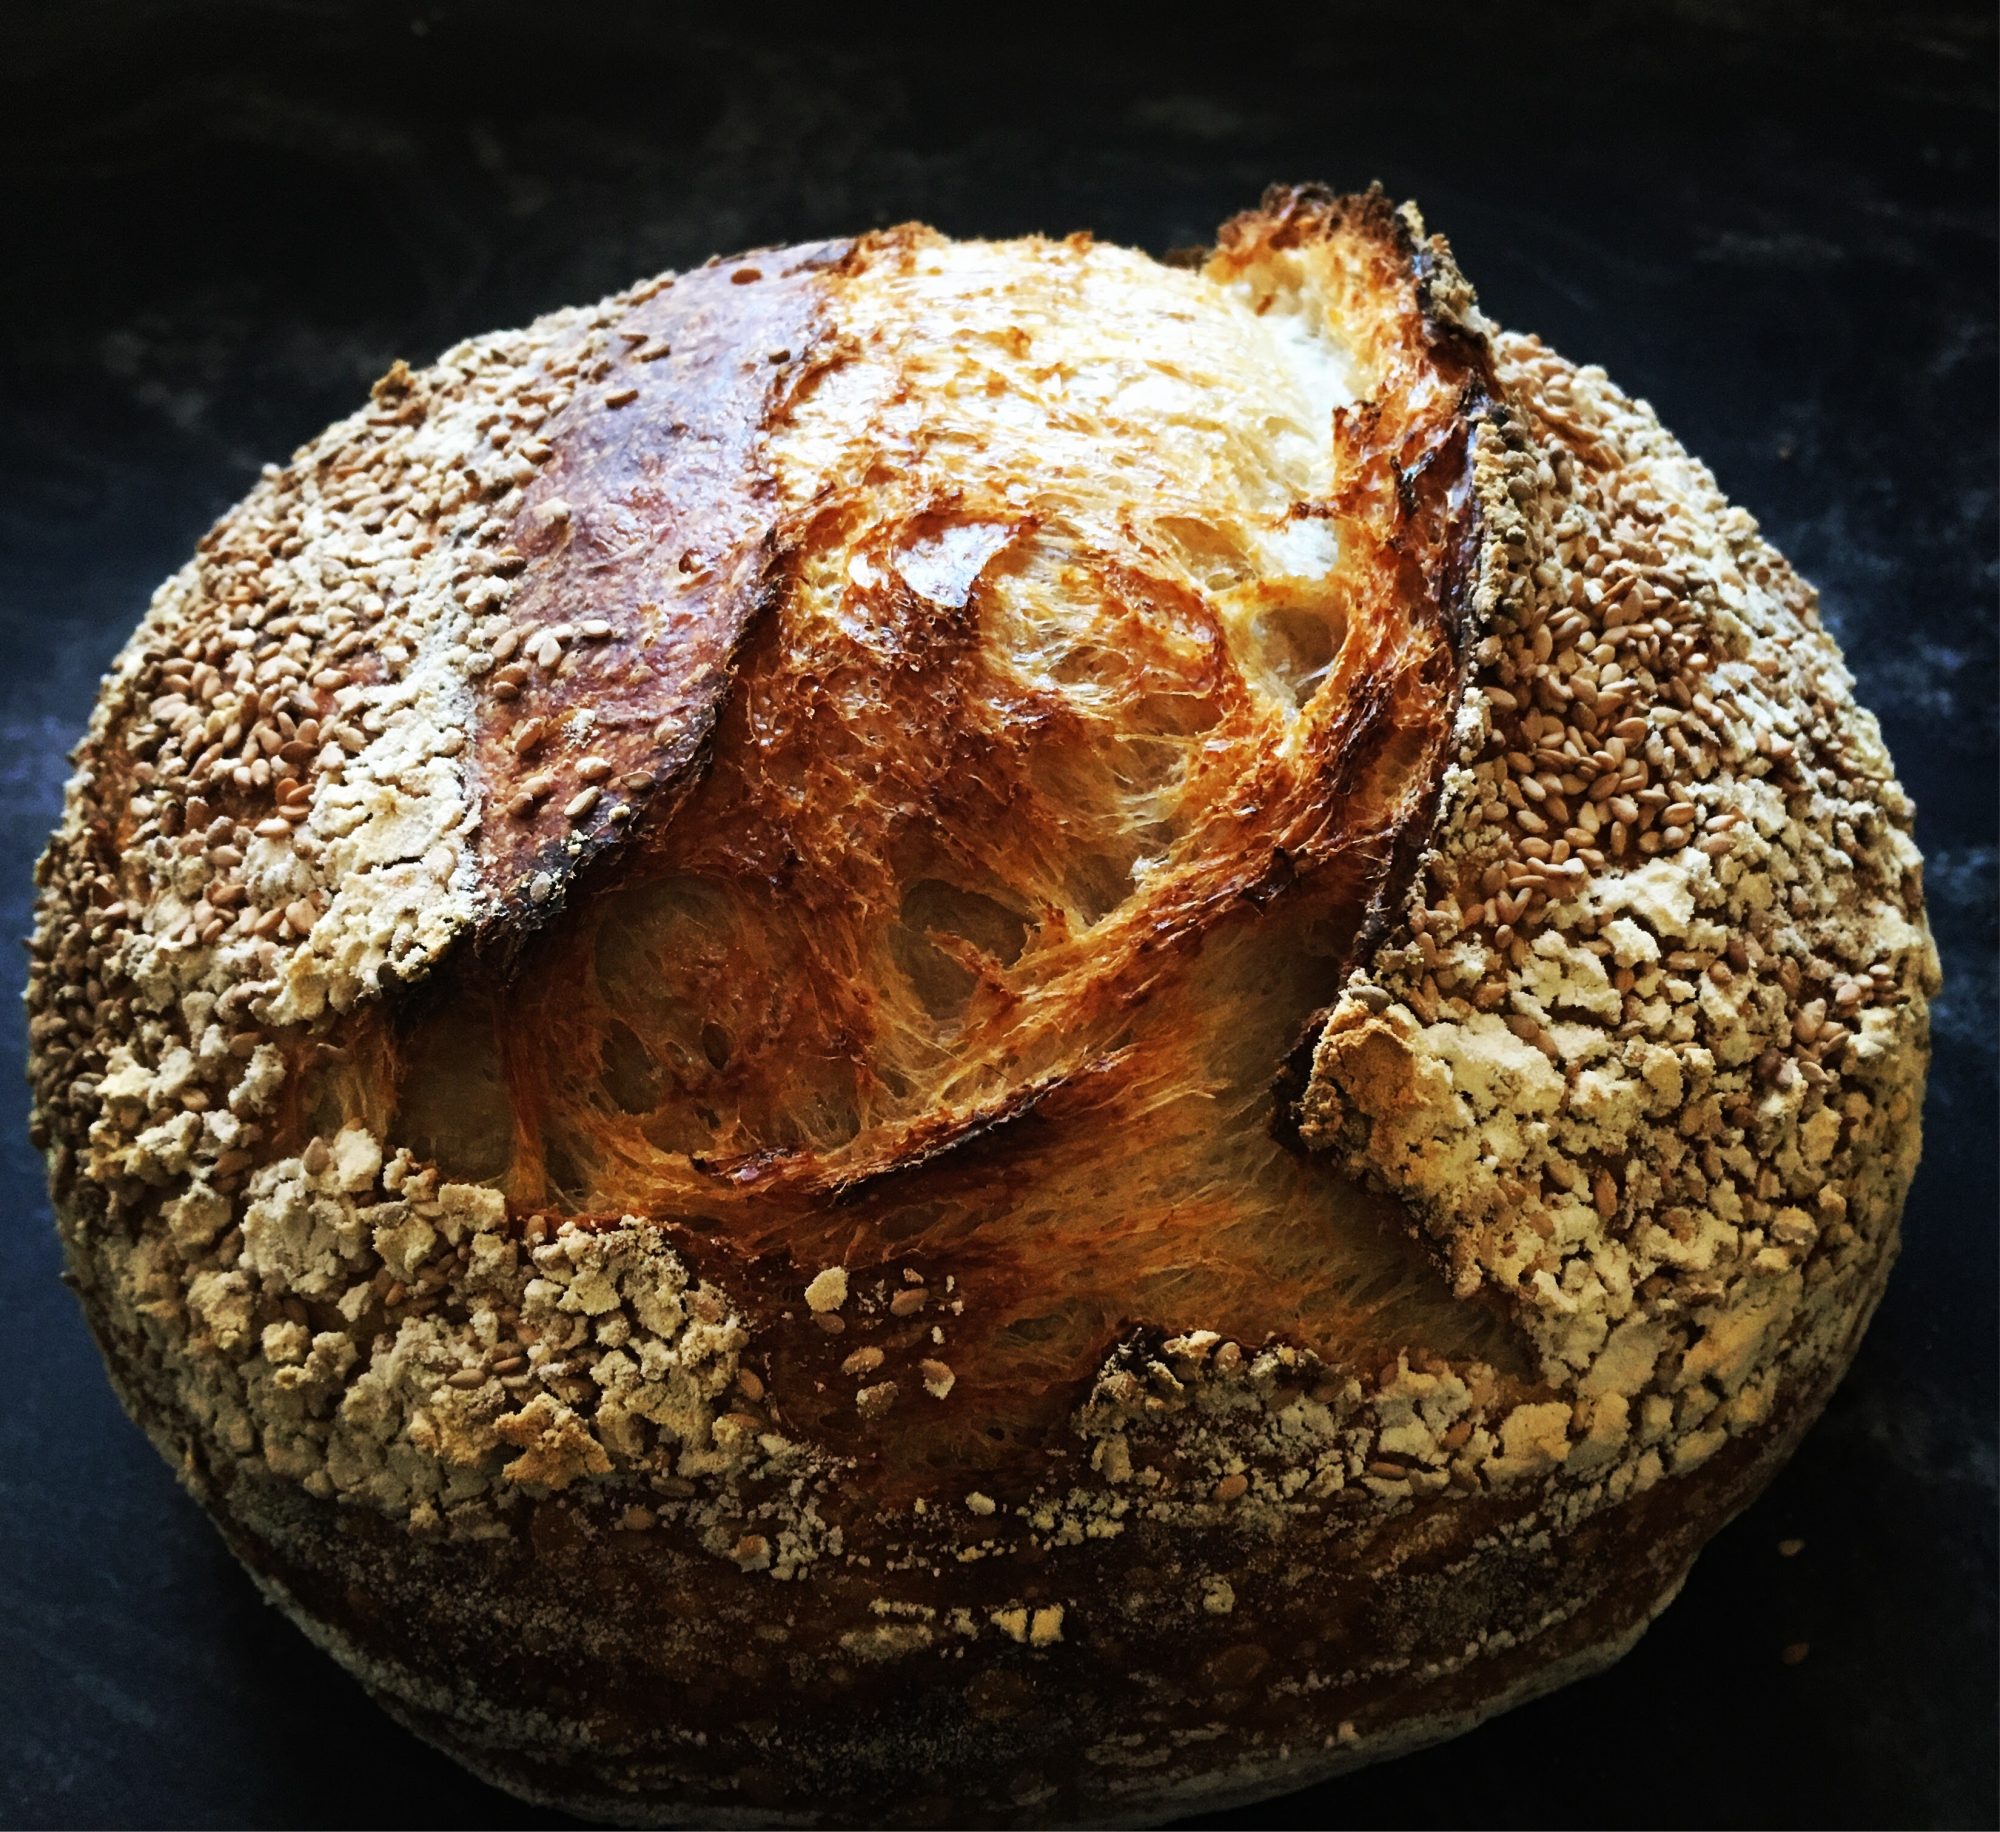
For the briefest of moments, bread baking became “the thing” of 2020. Everyone magically became a bread baker and then….they stopped. More specifically, everyone baked sourdough. Guess what….sourdough is not easy. To me, it’s the most “hands on” bread imaginable. Start with easy bread baking, like my No-Knead Bread with Seeds and Oats, or my Everyday Maple Whole Wheat Bread.
I want to empower you to become a bread baker. NOT a sourdough baker necessarily….but a bread baker. (I promise you sourdough one day but today folks, lets take baby steps.) Below is my beginners guide. Use this guide as a quick intro to bread baking or as a trouble shooting guide.
Let’s make bread baking fit into your end-demic lifestyle and, as always, let’s make it delicious!

The Beginners Bread Baking Guide
Yeast Types:
- Instant yeast needs no blooming in water. Simply add it in with your dry ingredients.
- Active dry yeast is the most common yeast type called for in recipes. Active dry yeast is bloomed/proofed in lukewarm water and a bit of sugar.
- Fresh yeast is known to give better texture and flavor to your breads…especially enriched yeast doughs like babka. It is bloomed/proofed the same way as active dry yeast.
Water Temperature:
Water temperature is a very important step to bread baking. If your water is too warm or hot it will kill your yeast. When proofing yeast water should be lukewarm. Lukewarm is equivalent to the temperature of baby bath water. If you’ve never bathed a baby and have no clue what I’m talking about, you should be able to place your finger down to the bottom of the water. Keep your finger there for a second. Your finger should not feel any burning or ouch sensation whatsoever. If should feel warm and pleasant.
Proofing Yeast:
Unless otherwise specified in a recipe, proofing yeast is done by combining yeast, water, and a bit of sugar. After you add yeast and sugar to the water, give it a good stir and wait about five minutes. If the yeast has foamed up, you’re ready to bake. If nothing has happened…your yeast is either dead or you’ve killed the yeast with water that is too warm.
Swapping Flours:
If you want to replace some white flour with whole wheat flour, for every cup of flour you need to add between 1-2 tablespoons of extra water to the dough. Make sure you measure flour properly with my quick read On Measuring Flour.
Kneading
Kneading elongates the gluten structures in your dough…which creates that lovely crumb and texture. Lightly flour your work surface with flour when you knead. Do not overly flour your dough while kneading! Gradually working in a little flour at a time until the outside of your bread is smooth but slightly tacky. It should not feel sticky or dry.
Baking Bread with the Season:
Baking in the summer vs. winter can be very different because of temperature and humidity. Not sure how humid it is? Try the hair test! Is your hair frizzy from humidity or flat and filled with static from the winter air? Your bread feels the same! Generally, during the summer months, your bread will need less liquid and will take less time to rise. In the winter and cooler months, you may need a touch more water in your mixture and a slightly longer rising time.
Rising:
Cover your bowl tightly with plastic wrap to keep moisture in. Be sure to leave a slight depression in the wrap to compensate for the bread rising and the gases that will form. Then cover the plastic wrapped bowl in a towel. If it’s warm out (summer), leave the bowl on the counter to rise. During the cooler months, find the warmest spot in your kitchen (or house) to let it rise. My Bubby would tuck her bowl of rising bed dough under the down blanket on her bed! I leave my rising bread on a shelf above my radiator.

Rest time:
Allowing your dough rest time in between shaping steps is so important. Each time you touch your dough…be it separating/dividing dough, rolling, etc., cover it with a towel and let it “rest” for about five minutes. Resting your dough allows the gluten structure to relax and the dough will be easier to work with. If you do not allow the dough to rest, the dough will shrink back every time you manipulate or shape it.
Creating steam at home:
Some bread recipes call for steam. Steam is the magic ingredient that turns bread into crusty deliciousness. Even though most home ovens are not steam ovens, there are ways to create a steam oven . One way is adding ice to a preheated cookie sheet in the oven. Another way is by using a preheated Dutch oven with a lid. Try this affordable one from Lodge or this one from Staub.
Testing for Doneness:
The bottom of your bread should sound hollow. When you tap or knock on the bottom of the bread you should hear your knock clearly.
Not done but getting burnt:
If the top of your bread has browned too quickly on the verge of becoming burnt, tent your bread with aluminum foil. Placing a piece of foil over (lightly draped) the bread allows the bread to cook while protecting it from the oven’s direct heat. However, there is a difference between burnt and bien cuit. The French word bien cuit refers to that lovely, deep mahogany luster with very dark edges.

Leave a Reply